Monday, July 30, 2012

Finished Staircase!!

Yay, we are so relieved that the stairs are finally done!! We did it ourselves!! No more cancer-causing fumes from oil-based products!! What a time-consuming project, though. All in all, we started on it two Sundays ago, which is when we ripped out the carpet, and we finished it today, which is the 15th day after we started. We worked on this every evening after work and all day on the weekends. So it was time-intensive. It wasn't that hard, I guess, it just was a process of trial and error. Here are other blog posts I've done about the stairs in progress: herehere, and here.

The stairwell paint color is Benjamin Moore Pismo Dunes, upstairs hallway is Benjamin Moore Manchester Tan

Here is the final result:


It should be noted that you need to number each tread and each riser (the bottom riser being #1, and so on and so forth) on the back, and also mark which is the bottom and top (only on the riser). Since our tread had an end cap, we knew which was the top and which was the bottom. But if you just used a bullnose tread, you wouldn't know which was the top, so you should label that. Of course, this numbering business only applies if you do the staining and painting prior to installing the treads and risers. We did it this way because it was easier.

Here's an example of how we labeled a riser:


Here is the brad nailer and air compressor we used so we could nail it all in.


I wanted the top stair to have a bullnose on it (even though we have carpet upstairs) so that it looked "finished." We figured out how to do that.

We just used another retrotread for the top stair nose piece. We cut the front end cap off of it to make this:


Here's hubby scoring the top flap of carpet. We wanted to cut the end cap off so it would line up with the back of the side moulding on the top step. You cut the carpet and carpet padding behind flush with the stair nose piece. You do not put the stair nose ON TOP OF the carpet.


Here's what it looked like after he cut it:


Then we cleaned the stair, and I nailed in the top riser:


Then I nailed in the top stair nose piece:


Then, as to how to deal with the carpet, you STAPLE the edge of each side of the carpet right outside the stair:


Then you staple a few inches BEHIND the edge of the carpet every few inches (you don't want the carpet to get flat or matted down at the top of the stair, you want it to look fluffy).


After I stapled it in, this is how it looked:


We were pretty satisfied with ourselves after that. Then I touched up the nail holes, repainted the skirt of the stairs since it had a lot of scuffs from installing the retrotreads, and caulked.

VOILA! This is the fruit of our hard work. (Beware picture overload!!!! If this is too many pics for you, you can just click off.)


Hope you enjoyed this project! Very exhausting, but worth it!!

Sunday, July 29, 2012

Do Not Try This at Home!!!! (Stair Project Continued)

 If I had it to do over again, I'm not sure I (we) would've tackled the stairs ourselves. It is just a very time-consuming chore. My half of it is to stain and poly all the treads and prime and paint all the risers. At two coats of stain, two coats of poly, one coat of primer, and two coats of paint, this assembly line stair project is killing me! Not really, but it is a lot of work.

My hubby's half of it is to cut off the front top edges of all the treads (so we can fit the retreads over them), and measure and cut all of the treads and risers. Also very time-consuming. This isn't the easiest DIY project. Definitely not for the inexperienced. But I'm sure, when it's done, I will feel a sense of accomplishment, and I will forget all the hard work. It would be a lot easier to do it over a period of time. We just like to get ambitious and try to get it done ASAP. That's how we are.

So I feel like a factory worker just knocking out all this staining and painting. Here is my factory floor:


I read on someone's blog (sorry, I forgot who, or I would give him credit here) that he used soda cans to put his stair treads and risers on. That seemed brilliant! So I went out and got the cheapest soda I could find ($5 for a 24-pack).


I am not even kidding you. If I didn't include a picture of the box, you would never have believed that this is what this soda is called!!! (Interesting pun, um, not really.)

More production on the assembly line:


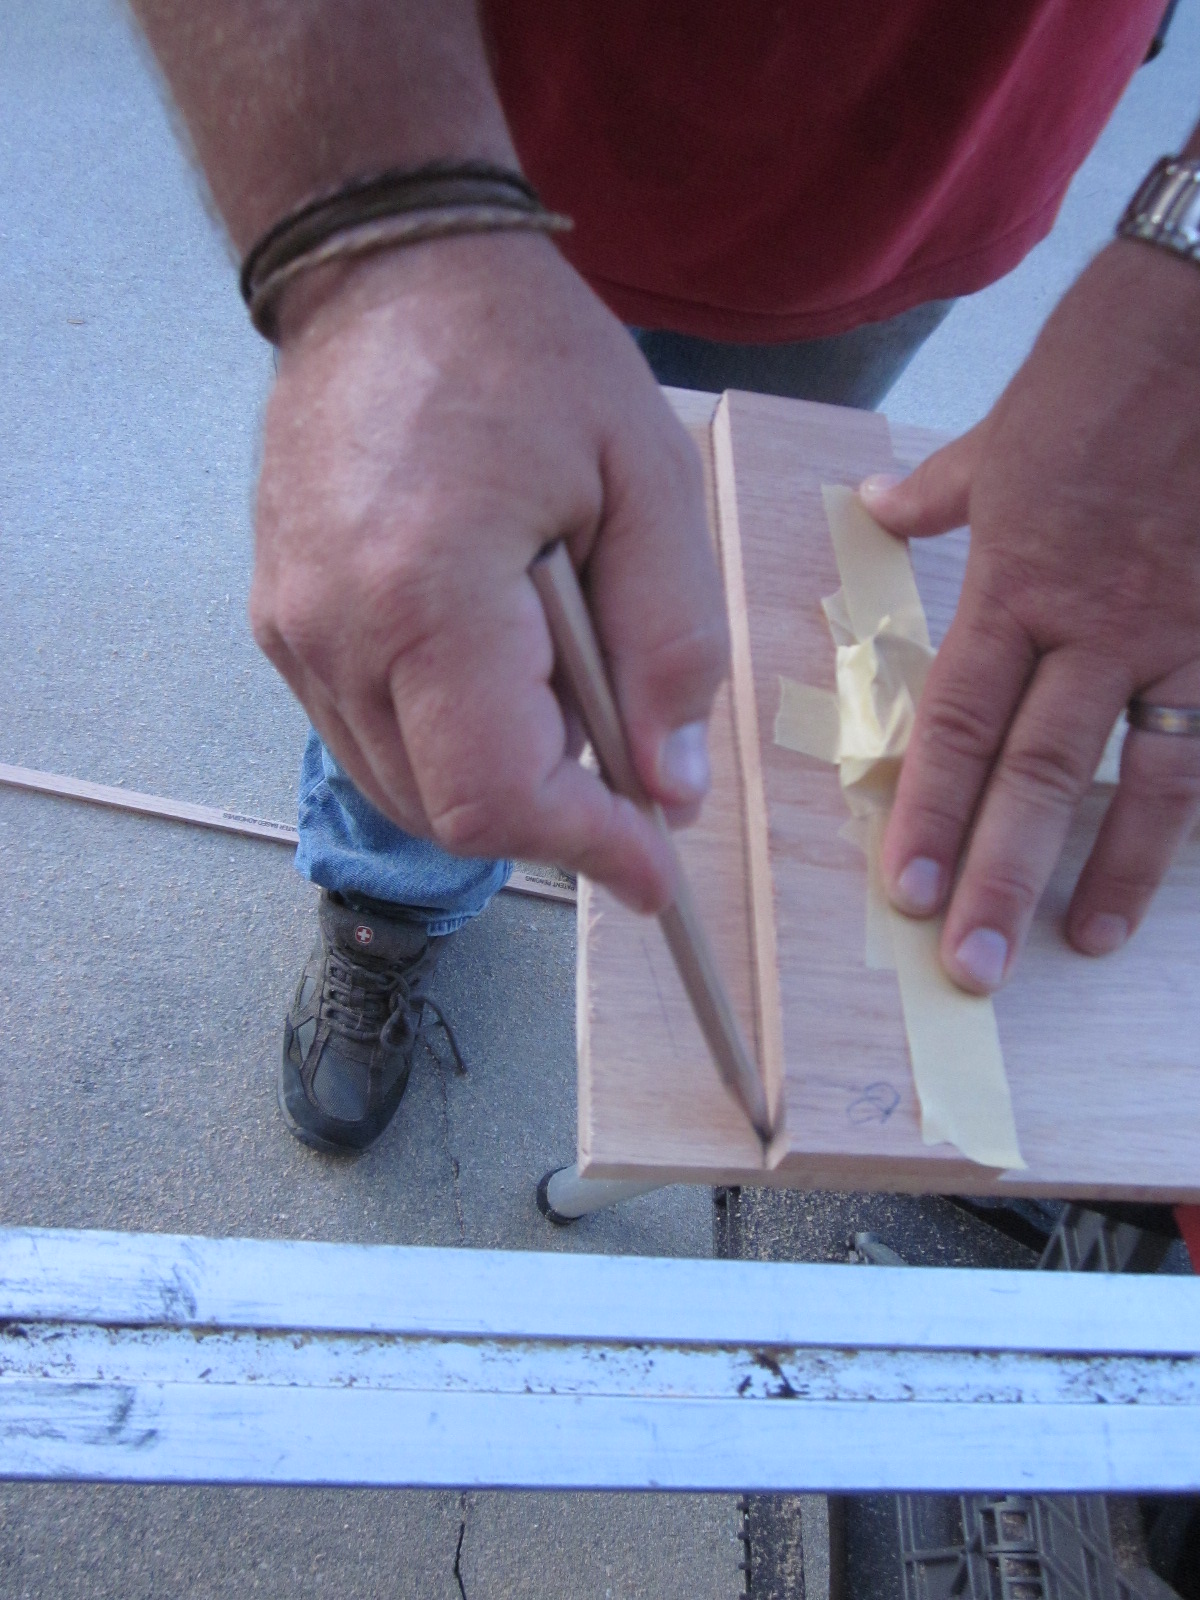
For my risers, I used these products:


Since I am painting birch plywood for the risers (I believe it's 1/4" thick), I decided to use a primer. After everything I've painted in my life, I can't believe this is the first time I've used a primer. I bought Kilz since I always have heard good things about it. It did not disappoint. It dries quickly and can be painted after 30 minutes. I also picked up what was convenient in a white semi-gloss at ACE Hardware, ACE Royal Paint in the color High Hiding White (sounded good to me) and in the semi-gloss formula.

For my stain, I applied with a cotton sock over a latex glove (thanks for this idea, Centsational Girl!). http://www.centsationalgirl.com/2010/10/finished-staircase/This is so the oil-based stain doesn't get all over your hands. My goal was to not have to use any mineral spirits for cleanup and to just use cheap things that were disposable so I could just throw them out afterwards. The latex glove I just threw away after every coat of stain, and the cotton sock stayed moist so I could continue the two coats of stain.


Before I proceeded to stain the unfinished tread, I used a tackcloth to remove any tiny bits of wood still on the surface. This is kind of sticky, but it gets up all the little wood bits so they don't stay on the surface of your wood and mix with your stain.


I used the Minwax oil-based stain in the color Jacobean, a very dark brown color. I like the two coats of the Minwax Jacobean stain. I don't mind staining the red oak treads. The stain does kind of look splotchy at times, which is a characteristic of red oak. But I don't mind it since it gives it a rustic look. I am not going to be picky with how the stain takes since I decided on red oak over pine due to it being a harder wood.


Here is the polyurethane I used. I know you can use water-based polyurethane with the above stain, but I opted for oil-based. All of my tools were things I would later throw away because I didn't want to deal with the pain of clean-up. I used natural-bristle brushes, which I read you're supposed to use with oil-based stain (why? I have no idea). The brushes were like $2 at ACE Hardware. I ran my hands through the brushes before I used them to eliminate any loose hairs, so they wouldn't get stuck in my stain. The brushes ended up working really well. I put them in a ziploc bag in between coats of polyurethane so the poly wouldn't dry out so I could come back and use the same brush (didn't want to clean it in between). 


Due to the long drying time of the oil-based products, we couldn't start stair installation until today. We completed six steps!! Here is the construction adhesive we used to glue the treads and risers on. We used Liquid Nails with a caulking gun.


My hubby did the gluing of the Liquid Nails, and I did the brad nailing on everything after he glued it. First he attached the bottom riser after putting Liquid Nails on it.


Then I nailed it in (for extra security). Then he installed the first tread after spreading Liquid Nails on the top of the step (the raw wood stairs). Then I nailed it in.


You can see here that, even though I used the Minwax oil-based polyurethane in a clear satin finish, it is still glossy. I wouldn't really want the stairs any glossier than this, so I'm glad we got the satin finish. First step installed!!! Yay!


Then we just went up the stairs, first installing the next riser, then the next tread.

Look! We really are making progress! Six steps down, 11 more to go!! I think this pic most accurately represents what color the stain actually is in real life.


Wednesday, July 25, 2012

Stair Project Coming Along

The stairs are kicking our butts (or as my hubby likes to say "they opened up a can of whoop-ass on us"). It is such an arduous project. Cutting the front edges off the steps (to make them flush so retro treads can fit over them) left sawdust everywhere. It was so, so messy. Not for the faint of heart! Lots of sawdust! The walls are not square!! The steps are not level!! I can totally understand why stair guys charge $125 (not counting materials) and up for one stair! This is hard!! This job is loud, messy, and sweat-producing. (And anxiety-provoking.)

I would have just liked to use the existing wood (and it is wood) that makes up the stairs and not add any false tread and not cut the edges off each stair. But look at the gaps on the sides:


I am amazed and inspired by this blog: http://southernhospitalityblog.com/the-down-dirty-on-the-stair-project/. Here are her stairs (and hers looked just like mine before with all the gaps, and she didn't replace any wood, she just added moulding and painted them):


I found her blog too late! We had already begun our renovation, and it's too late to turn back now!

I am painting the risers white and staining the treads dark espresso brown before we install them. It will be easier this way. I stained the first tread with Minwax Jacobean stain (oil-based).


This is one coat of it.


Here are two coats:


Someone wanted to be in the pic again. I am liking the color of the tread! The tread is not really attached here, it is just sitting there so we know how to size the next riser above it.

Demonstration of how the steps are not square (this is a speed square). My husband is pointing out the gap to the right:


Because the stairs are not square, he had to rig up this template to measure the width of each tread:


If the step were square, he could just measure the width and cut the tread to width. Since the steps are out of square, he must use a template for each step, go and trace the size on the tread, then cut it.


It should be noted that the level must be used on every tread to make sure it's level.

As of today, we have four treads and four risers cut. The measuring is what takes the most amount of time. I will stain the treads after hubby finishes cutting them, and I will paint the risers white when those have been cut.