Sunday, July 29, 2012

Do Not Try This at Home!!!! (Stair Project Continued)

 If I had it to do over again, I'm not sure I (we) would've tackled the stairs ourselves. It is just a very time-consuming chore. My half of it is to stain and poly all the treads and prime and paint all the risers. At two coats of stain, two coats of poly, one coat of primer, and two coats of paint, this assembly line stair project is killing me! Not really, but it is a lot of work.

My hubby's half of it is to cut off the front top edges of all the treads (so we can fit the retreads over them), and measure and cut all of the treads and risers. Also very time-consuming. This isn't the easiest DIY project. Definitely not for the inexperienced. But I'm sure, when it's done, I will feel a sense of accomplishment, and I will forget all the hard work. It would be a lot easier to do it over a period of time. We just like to get ambitious and try to get it done ASAP. That's how we are.

So I feel like a factory worker just knocking out all this staining and painting. Here is my factory floor:


I read on someone's blog (sorry, I forgot who, or I would give him credit here) that he used soda cans to put his stair treads and risers on. That seemed brilliant! So I went out and got the cheapest soda I could find ($5 for a 24-pack).


I am not even kidding you. If I didn't include a picture of the box, you would never have believed that this is what this soda is called!!! (Interesting pun, um, not really.)

More production on the assembly line:


For my risers, I used these products:


Since I am painting birch plywood for the risers (I believe it's 1/4" thick), I decided to use a primer. After everything I've painted in my life, I can't believe this is the first time I've used a primer. I bought Kilz since I always have heard good things about it. It did not disappoint. It dries quickly and can be painted after 30 minutes. I also picked up what was convenient in a white semi-gloss at ACE Hardware, ACE Royal Paint in the color High Hiding White (sounded good to me) and in the semi-gloss formula.

For my stain, I applied with a cotton sock over a latex glove (thanks for this idea, Centsational Girl!). http://www.centsationalgirl.com/2010/10/finished-staircase/This is so the oil-based stain doesn't get all over your hands. My goal was to not have to use any mineral spirits for cleanup and to just use cheap things that were disposable so I could just throw them out afterwards. The latex glove I just threw away after every coat of stain, and the cotton sock stayed moist so I could continue the two coats of stain.


Before I proceeded to stain the unfinished tread, I used a tackcloth to remove any tiny bits of wood still on the surface. This is kind of sticky, but it gets up all the little wood bits so they don't stay on the surface of your wood and mix with your stain.


I used the Minwax oil-based stain in the color Jacobean, a very dark brown color. I like the two coats of the Minwax Jacobean stain. I don't mind staining the red oak treads. The stain does kind of look splotchy at times, which is a characteristic of red oak. But I don't mind it since it gives it a rustic look. I am not going to be picky with how the stain takes since I decided on red oak over pine due to it being a harder wood.


Here is the polyurethane I used. I know you can use water-based polyurethane with the above stain, but I opted for oil-based. All of my tools were things I would later throw away because I didn't want to deal with the pain of clean-up. I used natural-bristle brushes, which I read you're supposed to use with oil-based stain (why? I have no idea). The brushes were like $2 at ACE Hardware. I ran my hands through the brushes before I used them to eliminate any loose hairs, so they wouldn't get stuck in my stain. The brushes ended up working really well. I put them in a ziploc bag in between coats of polyurethane so the poly wouldn't dry out so I could come back and use the same brush (didn't want to clean it in between). 


Due to the long drying time of the oil-based products, we couldn't start stair installation until today. We completed six steps!! Here is the construction adhesive we used to glue the treads and risers on. We used Liquid Nails with a caulking gun.


My hubby did the gluing of the Liquid Nails, and I did the brad nailing on everything after he glued it. First he attached the bottom riser after putting Liquid Nails on it.


Then I nailed it in (for extra security). Then he installed the first tread after spreading Liquid Nails on the top of the step (the raw wood stairs). Then I nailed it in.


You can see here that, even though I used the Minwax oil-based polyurethane in a clear satin finish, it is still glossy. I wouldn't really want the stairs any glossier than this, so I'm glad we got the satin finish. First step installed!!! Yay!


Then we just went up the stairs, first installing the next riser, then the next tread.

Look! We really are making progress! Six steps down, 11 more to go!! I think this pic most accurately represents what color the stain actually is in real life.


Wednesday, July 25, 2012

Stair Project Coming Along

The stairs are kicking our butts (or as my hubby likes to say "they opened up a can of whoop-ass on us"). It is such an arduous project. Cutting the front edges off the steps (to make them flush so retro treads can fit over them) left sawdust everywhere. It was so, so messy. Not for the faint of heart! Lots of sawdust! The walls are not square!! The steps are not level!! I can totally understand why stair guys charge $125 (not counting materials) and up for one stair! This is hard!! This job is loud, messy, and sweat-producing. (And anxiety-provoking.)

I would have just liked to use the existing wood (and it is wood) that makes up the stairs and not add any false tread and not cut the edges off each stair. But look at the gaps on the sides:


I am amazed and inspired by this blog: http://southernhospitalityblog.com/the-down-dirty-on-the-stair-project/. Here are her stairs (and hers looked just like mine before with all the gaps, and she didn't replace any wood, she just added moulding and painted them):


I found her blog too late! We had already begun our renovation, and it's too late to turn back now!

I am painting the risers white and staining the treads dark espresso brown before we install them. It will be easier this way. I stained the first tread with Minwax Jacobean stain (oil-based).


This is one coat of it.


Here are two coats:


Someone wanted to be in the pic again. I am liking the color of the tread! The tread is not really attached here, it is just sitting there so we know how to size the next riser above it.

Demonstration of how the steps are not square (this is a speed square). My husband is pointing out the gap to the right:


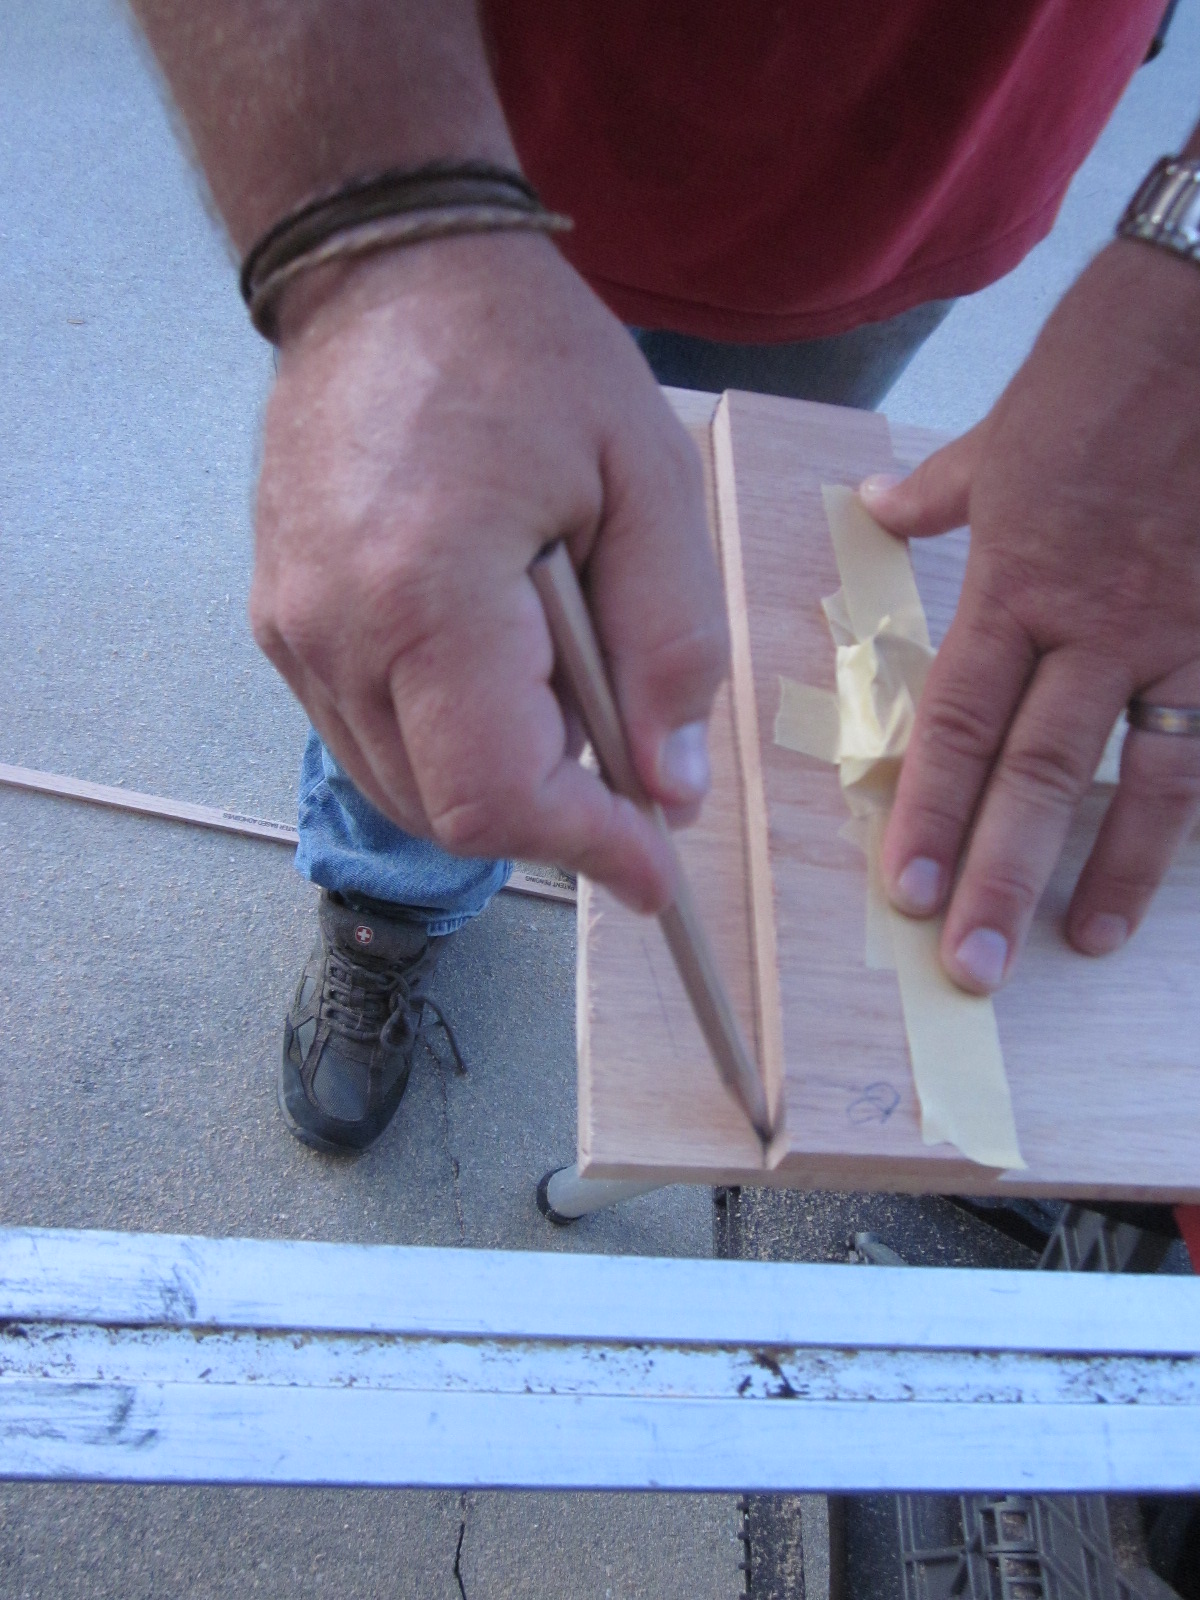
Because the stairs are not square, he had to rig up this template to measure the width of each tread:


If the step were square, he could just measure the width and cut the tread to width. Since the steps are out of square, he must use a template for each step, go and trace the size on the tread, then cut it.


It should be noted that the level must be used on every tread to make sure it's level.

As of today, we have four treads and four risers cut. The measuring is what takes the most amount of time. I will stain the treads after hubby finishes cutting them, and I will paint the risers white when those have been cut.

Sunday, July 22, 2012

Day 1 of Retrofitting Stair Tread Project: Epic Failure

I am disappointed in our progress on putting in wooden stair treads. My hubby states that today was not a failure and that instead of calling it a failure, he would say that things "did not go as planned." However, not one of the stair treads has been cut to size. Nor could it be since we have to put a riser at the bottom first, and we never even got to cutting those. We had several mechanical failures, a hardware store run, and we had a steep learning curve. But now we are much more educated about what we need to do.

Here's the before with the carpeting:


Here is why we are replacing the carpet with wood treads:


Our cat threw up on three different stairs. We tried and tried to clean the rug with OxyClean, etc., but we couldn't get that orange color out of the rug.

So we removed the carpet today. Here it is before the carpet padding and tack strips were removed:


Hubby used a metal putty knife to get the carpet padding up:


Then I used a pry bar and a rock hammer to remove the tack strips. The pry bar also removed the nails that were sticking out.


All the padding and tack strips removed!


Here are our new stair treads that we bought at Lowe's. They are red oak. I really like them and think the front edge is really nice. Home Depot does not stock these in their stores here, so Lowe's was the winner! We wanted to look at them in person before we bought them. These are 42" wide, and our stairs are 38" wide, so we will just cut them to fit (easier said than done, I know).


We decided to do a practice run and try to cut the first stair tread to width. This is what took so much time. First we thought the table saw may work:


We never even cut with it because it wouldn't feed smoothly through the saw without slipping around.

We couldn't use the compound miter because it wasn't big enough (we would've needed a sliding miter saw, which we don't have):


Then we came in to do some research online, and we found a video of someone using a skilsaw with a speed square to cut treads. Out to the hardware store we went to buy a large speed square. We clamped this speed square to the tread. The speed square gave a straight edge for hubby to cut the tread with. He attached the speed square with clamps.


The tread is cut to width now, but we have to wait until we cut the first riser before we can know what the tread depth will be. We decided to move on to the interior to cut off the front edges of the treads.

We had to cut off the overhang at the front of each stair so the stair tread could fit squarely over the top of the step. First try: a sabre saw, which broke during the cutting. Hubby fixed it, but then moved on to a different saw to see if it would be faster.


Then he moved on to the skilsaw:


This worked well. Then hubby used a multi-tool to cut the last bit off the front:


Here are the bottom two steps with the edges cut off the front. The top stair in the pic still needs a piece from the top right cut off. But we were tired and quit for today. I don't know how people do a whole stairway in a weekend.


Saturday, July 21, 2012

Matching Ikea's Black-Brown Stain on Billy Bookcase

I wanted to add crown moulding to my Ikea Billy bookcase, so I hunted around on the internet looking for an answer to what color stain matches the black-brown color, but then I decided I would try my own formula and see if it worked. We keep our crystal in the Billy bookcase in our dining room. This is the best closeup before pic I could find:


Here you can see it on the left in the dining room. It's very plain. This pic was before we got the second door for it. We are bad Ikea shoppers, people! We accidentally got a white door and a black-brown door for it. We actually went back to Ikea TWICE for this because we bought the wrong color one time and the wrong style another time.


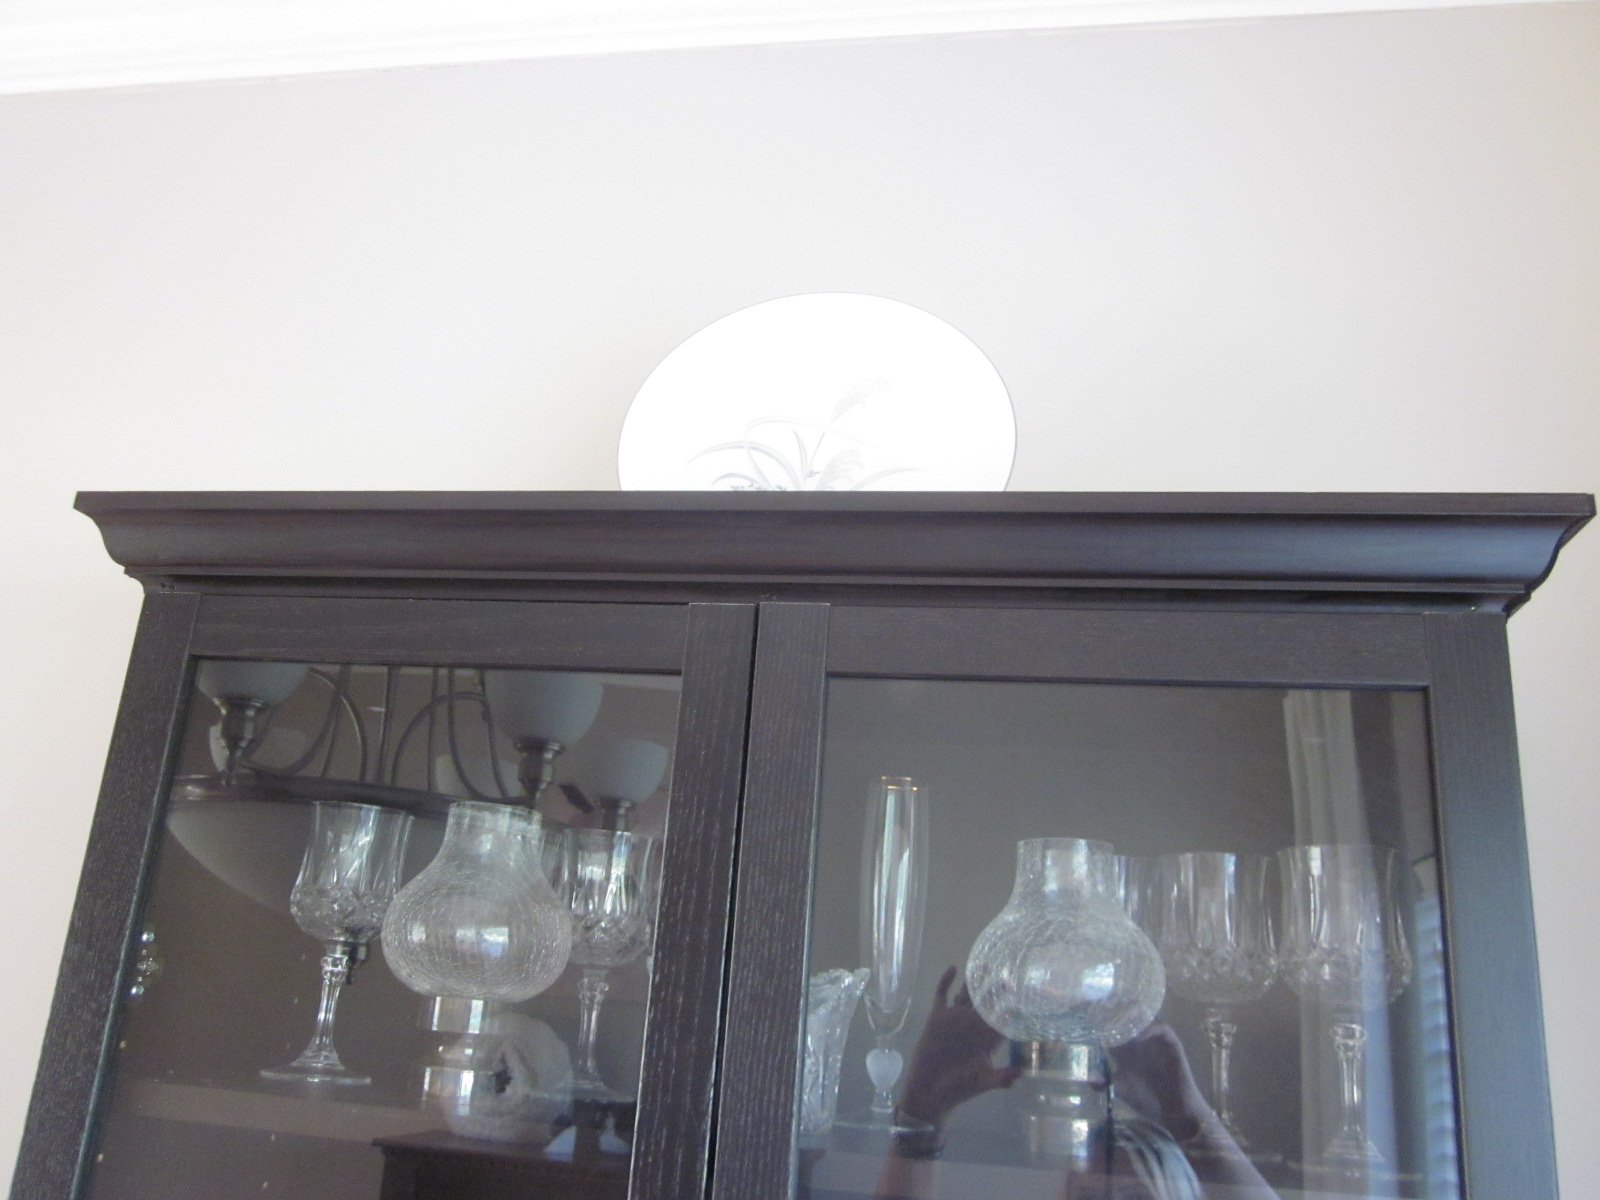
So I bought some inexpensive 2 3/4" crown moulding at ACE Hardware. I wanted to spruce it up a little.

Once that was installed, I needed to stain it. I tried Minwax in the color Jacobean, a dark brown stain. I did two coats of that, but it wasn't dark enough. It also was browner than the bookcase color.


So I did something possibly stupid, not sure since I don't if you're supposed to mix stain and paint, but I rubbed on a coat of Rustoleum Cabinet Transformations bond coat in the color Tudor (a dark brown with a purply undertone). This stuff is paint but feels like a gel stain. I used a small foam brush.


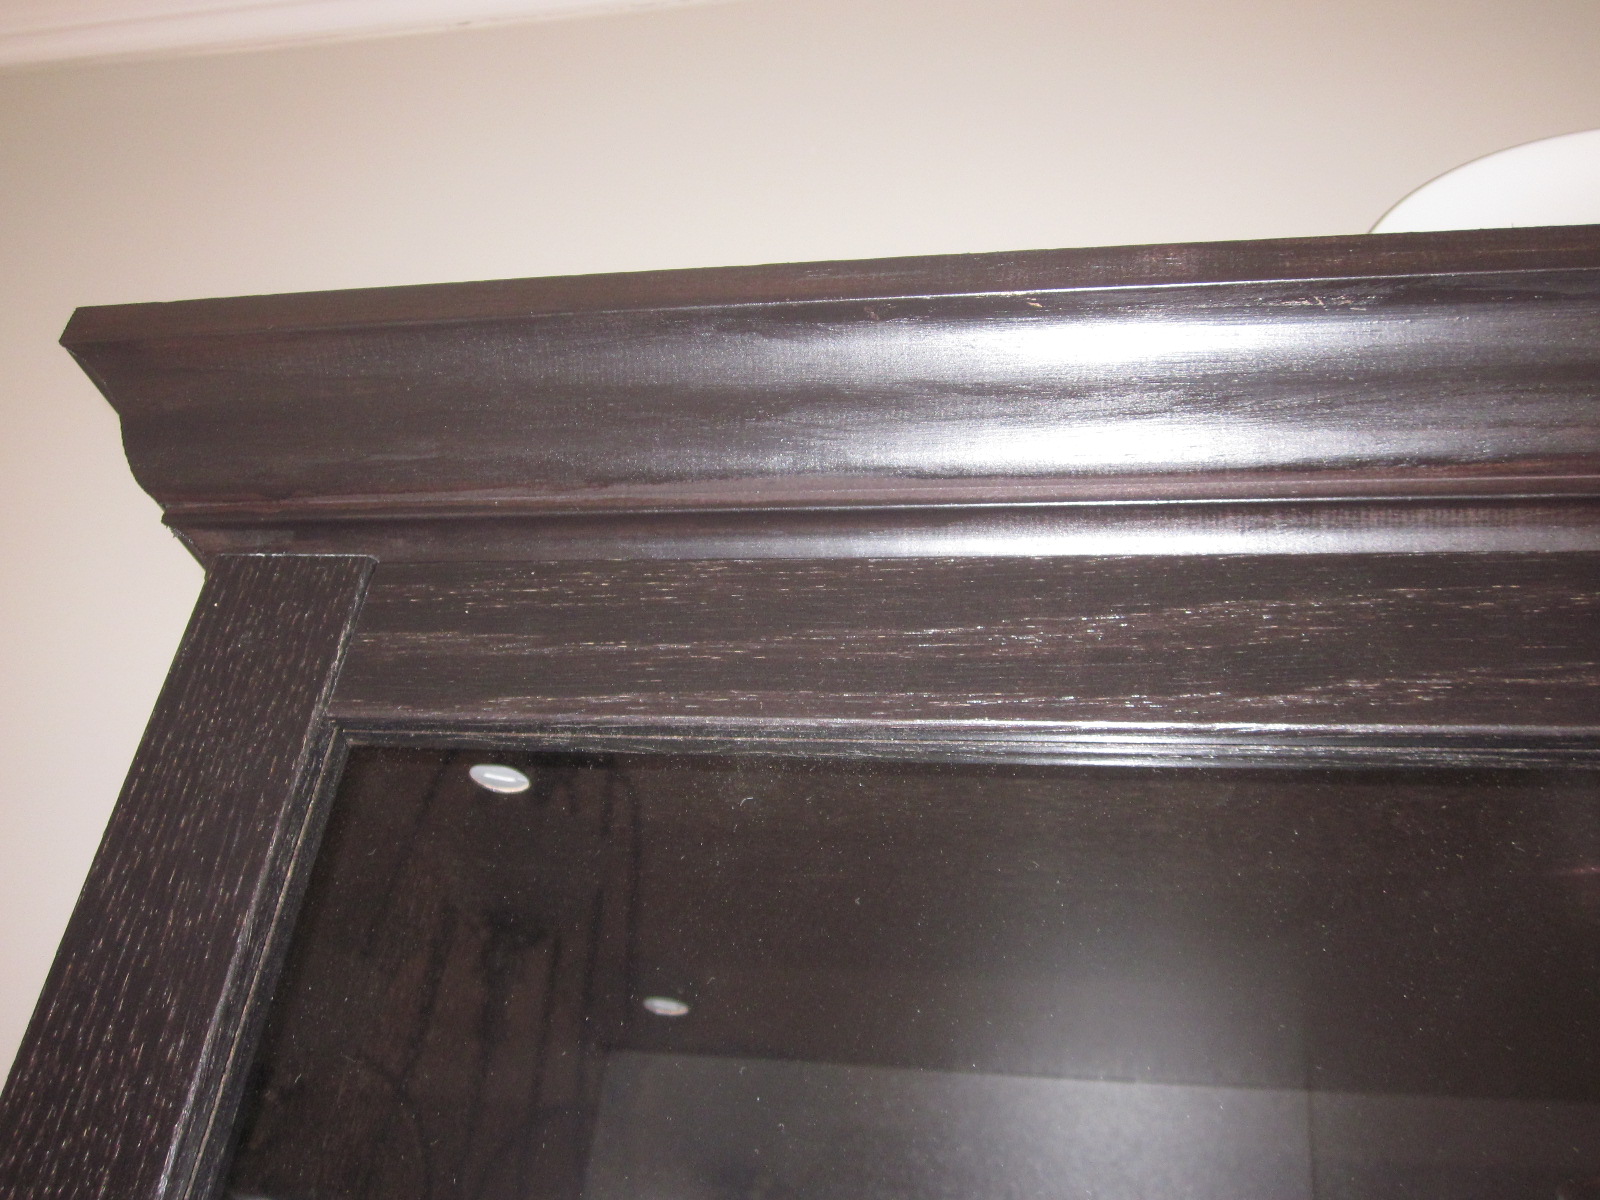
Then it wasn't dark enough, so I used the Rustoleum Cabinet Transformations bond coat in black and rubbed that in with a foam brush.


VOILA! Perfect. Then I added a coat of polyurethane to protect it:


I am so proud of it! It just looks like a dark stain, not at all like a paint. It turned out like this (some pics are with flash, some aren't):


It should be noted that the type of wood you use will take stain differently. It may absorb more or less. We think the type of wood the crown moulding is made out of is pine.

I added some acrylic knobs bought at Home Depot to add more pizzazz.

Here's a view of the whole dining room now: