Showing posts with label Rustoleum Cabinet Transformations. Show all posts

Saturday, July 21, 2012

Matching Ikea's Black-Brown Stain on Billy Bookcase

I wanted to add crown moulding to my Ikea Billy bookcase, so I hunted around on the internet looking for an answer to what color stain matches the black-brown color, but then I decided I would try my own formula and see if it worked. We keep our crystal in the Billy bookcase in our dining room. This is the best closeup before pic I could find:


Here you can see it on the left in the dining room. It's very plain. This pic was before we got the second door for it. We are bad Ikea shoppers, people! We accidentally got a white door and a black-brown door for it. We actually went back to Ikea TWICE for this because we bought the wrong color one time and the wrong style another time.


So I bought some inexpensive 2 3/4" crown moulding at ACE Hardware. I wanted to spruce it up a little.

Once that was installed, I needed to stain it. I tried Minwax in the color Jacobean, a dark brown stain. I did two coats of that, but it wasn't dark enough. It also was browner than the bookcase color.


So I did something possibly stupid, not sure since I don't if you're supposed to mix stain and paint, but I rubbed on a coat of Rustoleum Cabinet Transformations bond coat in the color Tudor (a dark brown with a purply undertone). This stuff is paint but feels like a gel stain. I used a small foam brush.


Then it wasn't dark enough, so I used the Rustoleum Cabinet Transformations bond coat in black and rubbed that in with a foam brush.


VOILA! Perfect. Then I added a coat of polyurethane to protect it:


I am so proud of it! It just looks like a dark stain, not at all like a paint. It turned out like this (some pics are with flash, some aren't):


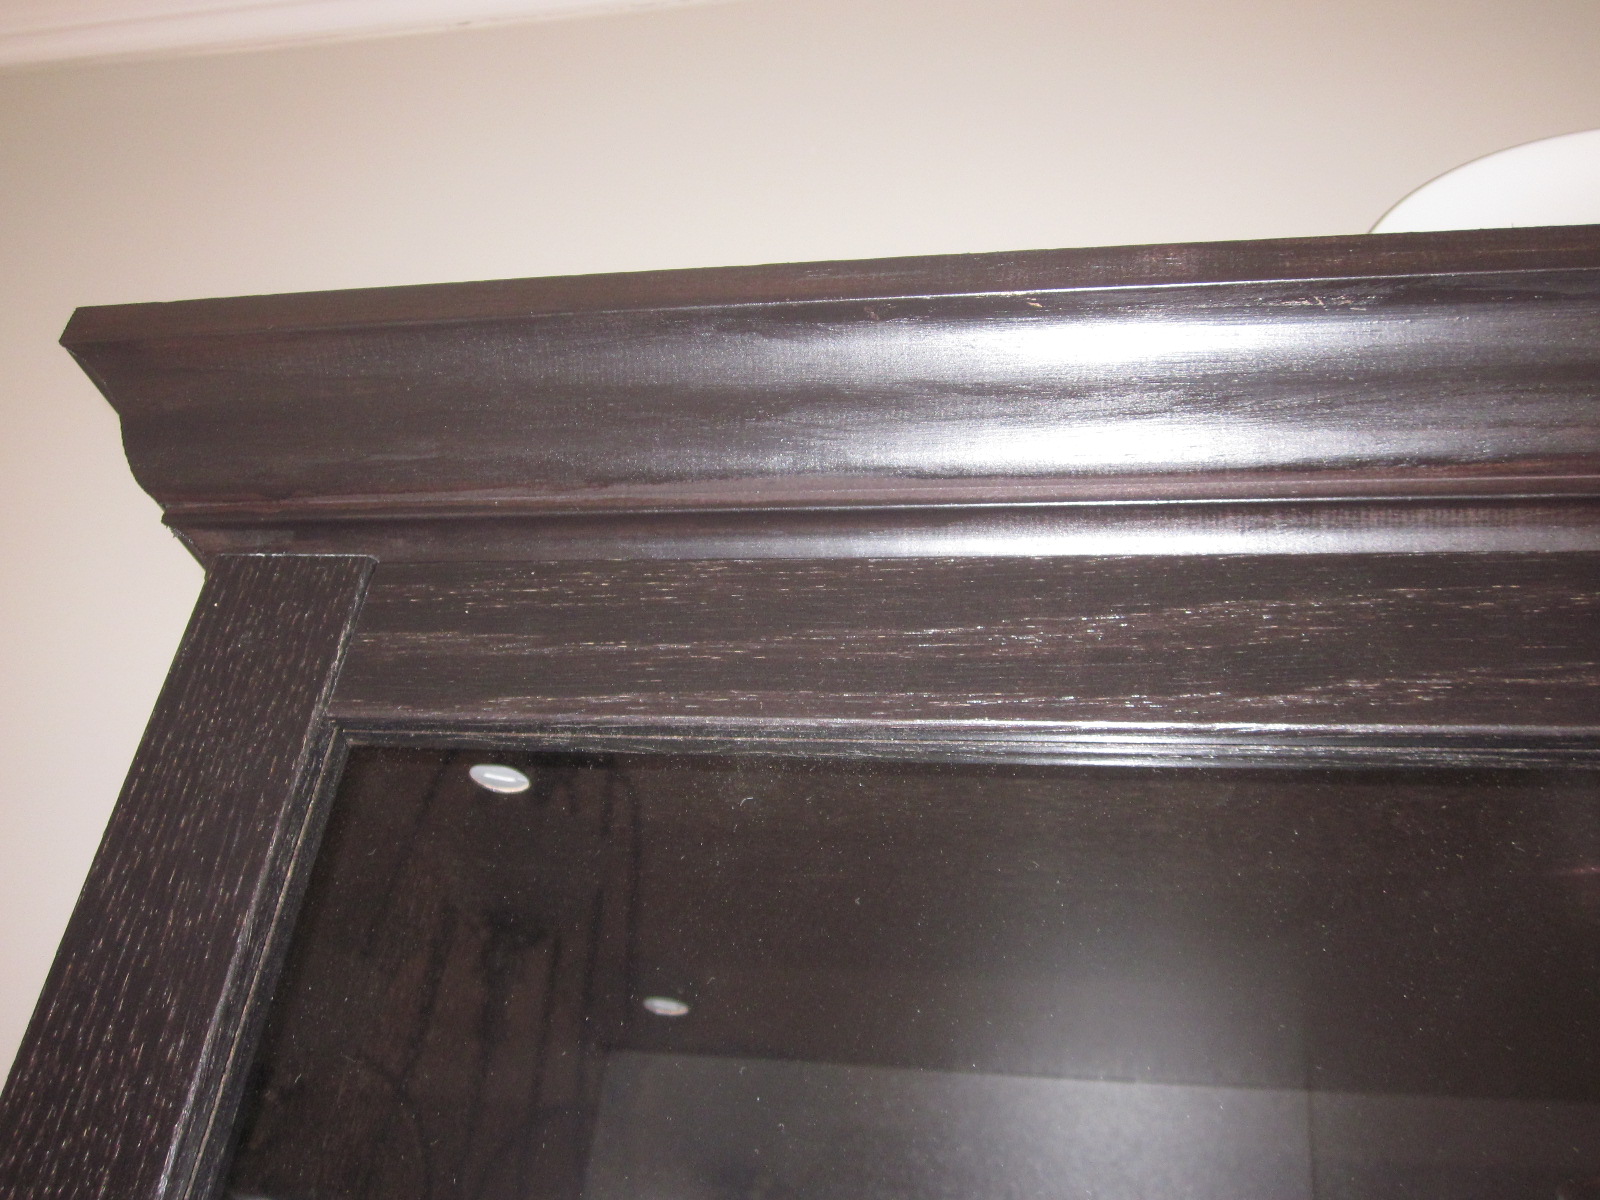

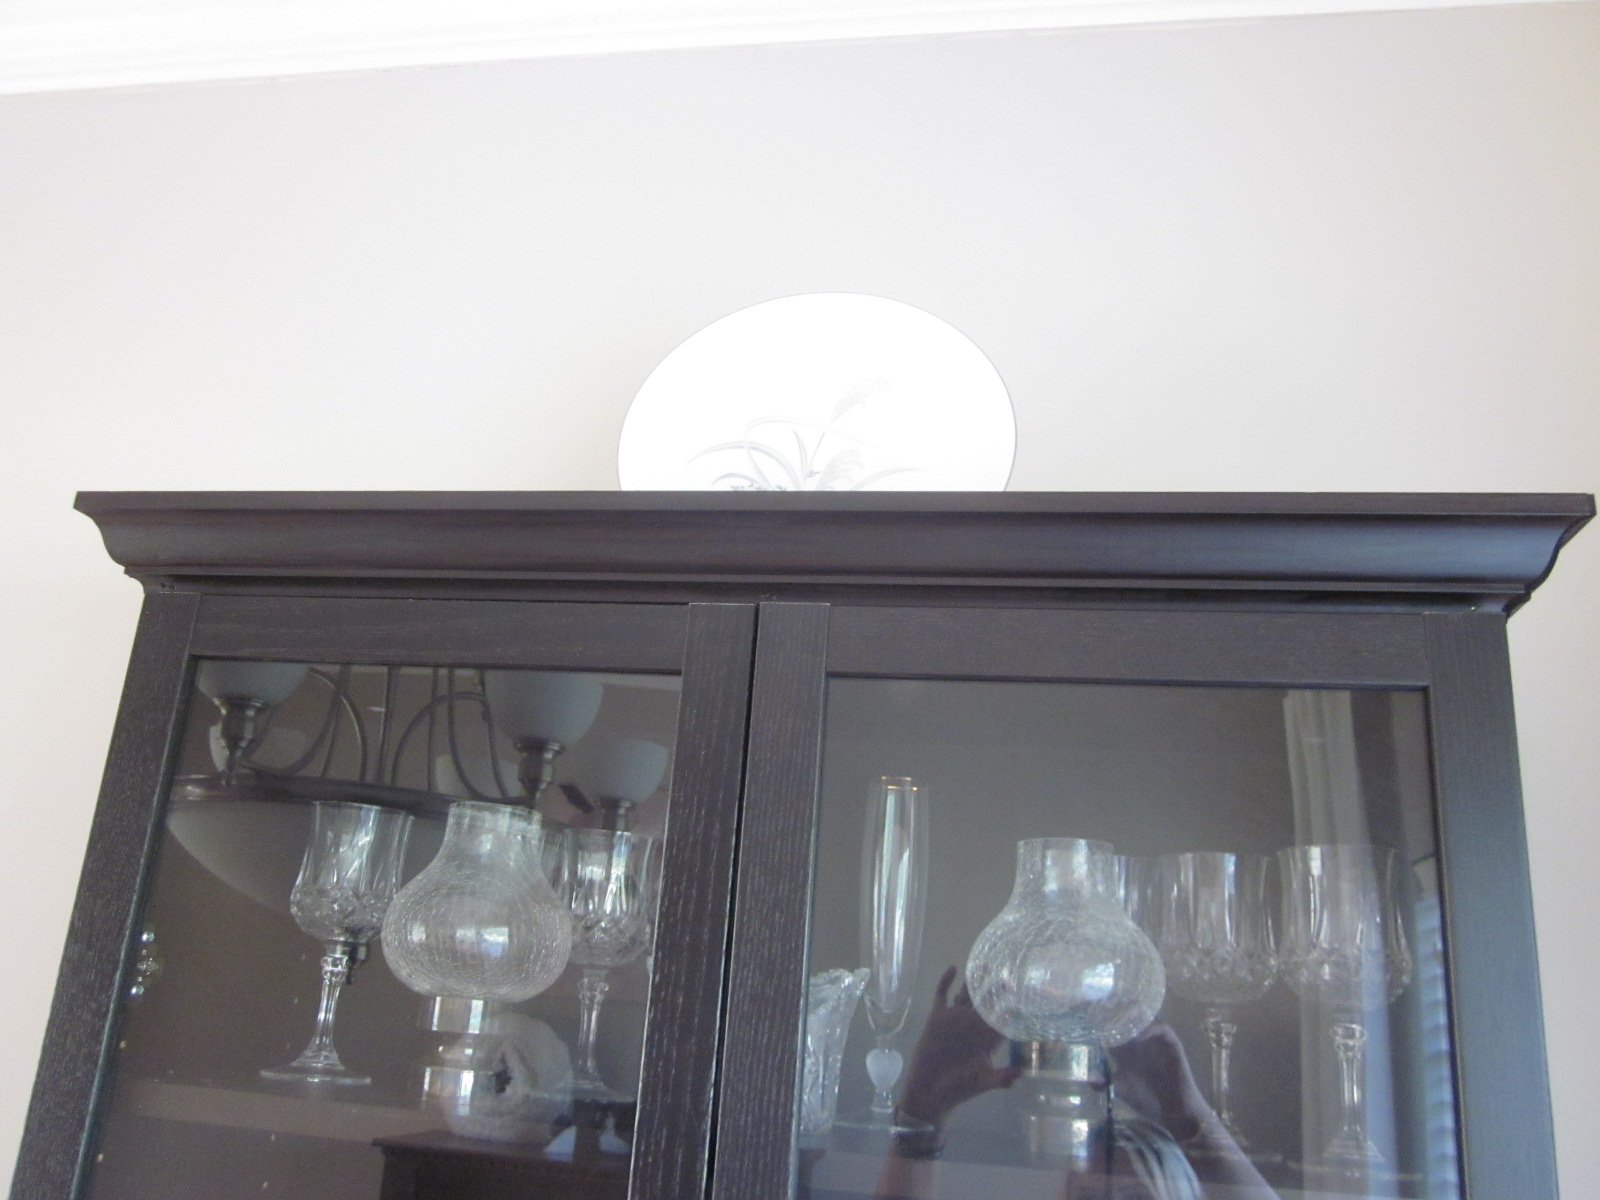


It should be noted that the type of wood you use will take stain differently. It may absorb more or less. We think the type of wood the crown moulding is made out of is pine.

I added some acrylic knobs bought at Home Depot to add more pizzazz.

Here's a view of the whole dining room now:


Tuesday, July 17, 2012

Rustoleum Cabinet Transformations (All My Transformations)

So I wanted to try this Rustoleum Cabinet Transformations product that I read about a few months ago in Better Homes & Gardens. I decided to try it on something pretty innocuous (and that I didn't mind ruining, in case it didn't work out), so I did the two dressers in our bedroom. I used the Tudor color, which is a dark brown color. It has an undertone of purple, just FYI. But my favorite color happens to be purple, so this worked out for me.

I left the doors on the armoire (I didn't want to waste time and energy painting the inside of the doors, who ever sees them but me?!), I removed the drawers in the dresser, we moved the furniture to the garage, and I got started.

First you wipe on the chemical stripper (deglosser, they call it). I did two coats of the paint color (bond coat) after that.  This product kind of has the texture of an oil-based paint/stain, but this product is water-based). I didn't use the glaze. It is a lot of work and time-consuming, but the pieces all turned out great.

Here is an after and then the before:


The after: 


This is before:


I removed the old wooden knobs on both pieces of furniture and bought acrylic ones at Home Depot that look like glass. They turned out great!

Then I decided to embark on two bathroom vanities. These were done in Tudor, as well (I didn't use the glaze). Here is the after:


This is the before (I just attached one before bath photo since both bathrooms had the same counter and cabinetry):


And, last but not least, my gorgeous kitchen. I used Rustoleum Cabinet Transformations in black (no glaze) on the perimeter cabinets and Quilter's White with glaze on the island. More pics of my gorgeous kitchen can be found here: http://lipstickandabradnailer.blogspot.com/2012/07/finished-kitchen.html. Here is the after of my kitchen:


Here is the before:


Friday, July 13, 2012

Ta-Da! Upper and Lower Cabinet Mouldings Completed

I really like the casing moulding I used on the upper cabinets. They really turned out nicely. I feel the moulding nicely imitates the cabinet door design. It just looks so much classier to have the end panels finished in moulding. I'm so glad I took so much time to do this. Well worth it. And cheap to do, as well.

Well, I did 3 coats of the Rustoleum Cabinet Transformations on the moulding. Here's how that looked:


You can tell that it didn't cover it well. Had to do a fourth  coat. Here's the final result:


 Much better.

Even after doing four coats of paint on the trim, I still only used about 1/4 of a quart of the Rustoleum paint. Here's a pic:


 Next up: put a coat of polyurethane (topcoat) on the trim. You have to wait at least 8 hours after doing the final coat of paint (or bond coat, as it's called) before you can put on the polyurethane.

Tuesday, July 10, 2012

Boring, Exposed End Cabinets Suck the Big One!

For some reason, I couldn't stand how the exposed end cabinets in the kitchen had no oomph or character to them. Add moulding! That's always the answer to adding character, isn't it? Yesterday, I put all the trim on the end cabinets. Today, I filled the gaps with joint compound (easier to work with for me than caulk) and then painted them. I did two coats with the Rustoleum Cabinet Transformations product (in black), and it still did not cover it! I will need to do at least one more coat on the trim. When I painted my cabinets with the Rustoleum product, I only needed two coats. This foam moulding doesn't take paint that well. It is paintable, but it just requires more paint and more work. Here is the Rustoleum product (base coat) with the thin foam brush I used:


Here's one coat of the Rustoleum product:


Looks scary, doesn't it?! Here are two coats:


Still doesn't look great, but we're getting there. Hopefully the moulding will only need one more coat of the paint. We are one step closer to finishing this kitchen renovation!

Wednesday, July 4, 2012

Say Goodbye to Blobby Nothingness

I hated the blobby nothingness of our island before. Now it makes me smile every time I look at it. It has oomph and dimension, like a nice piece of furniture. Here is the after:


I put the polyurethane on the island today (just on the trim we added). I used Minwax Polycrylic that is water-based, but there is a polyurethane that is included in the Rustoleum Cabinet Transformations kit as well. It probably would work the same, but the Minwax is just what I grabbed. I did one coat on the trim (this is what Rustoleum recommends, just one topcoat). However, others would suggest more than one coat. I just used one since I feel one works fine. I used two foam brushes, one thin one to get in the inner part of the trim which is narrow and one thick one (trimmed to fit perfectly in the Minwax can). Here's a photo of the polyurethane and brushes I used:


We also trimmed out the rest of the bottom end panels in our kitchen. The oak-looking moulding is the same 3 1/2" one as the island, but Lowe's had run out of the white, which is why we bought the oak. I am painting over it, anyway, so the color doesn't matter. We framed this the same way we framed the island. I feel better already.


I also taped up two different kinds of trim I bought. That will be decided on soon so we can frame the upper end panels on the cabinets. The top one is a casing trim, the bottom is a chair rail, both from Lowe's and both the foam material.


Tuesday, July 3, 2012

Shiraz and Furniture Glazing Do Not Mix!

Okay, dear readers, when we left our project yesterday, the island trim moulding had gotten two coats of Rustoleum Cabinet Transformations in Quilter's White. This is not a spray paint (like Rustoleum is famous for), this is a fancy schmancy (fairly new) product they have that promises no sanding, no stripping, and no priming. I am the biggest fan of this stuff (more posts to follow on just how MUCH I've actually used it in my home), and no, I do not work for Rustoleum. But they could hire me, if they want. I love them.

Here is my progress today. Island trim is all painted and glazed:


The Rustoleum kit contains the deglosser (basically a chemical stripper), the base coat of paint, the glaze, these gauzy cloths that help you wipe on/wipe off the glaze, and the polyurethane top coat. The deglosser was unnecessary in this project since that product's purpose is to remove the sheen/polyurethane from cabinetry, and in this case, my trim did not have that on it. I just applied two coats of the base coat. It dries to a matte consistency. You have to put polyurethane over it to protect it and give it a slightly glossy sheen.

My glazing was going well until the effects of the glass of Shiraz wine I had kicked in. Then I encountered a roadblock. I seem to have accidentally wiped the paint underneath away in one spot, and therefore I could not get my glaze to stick in the left bottom corner. When I went back to do a second coat of glaze in places where I wanted it darker, I inadvertently made this area too dark. It looked like this:


The thing about this is that you can paint over the glaze if you want to (I am going to put some of my Rustoleum Quilter's White Base coat where I got it too dark), then reglaze. The products are forgiving. They are all water-based. So here it is after I decided to paint over the dark spot:


And VOILA! After the glaze had been redone:


Glazing is something I had always been initimidated by, so was too afraid to try. I mean don't you just love glazed cabinets and glazed furniture?! They're so beautiful. It must be hard to achieve that effect, right?! Wrong . . . . It's very easy. When I first glazed my island a few months ago, I was amazed how incredibly easy it is. You just rub the glaze on with one of those gauzy cloths, then wipe it off to get the desired effect. Simple. It is seriously one of the most easy and fun things I have every done. I used a small paintbrush to do the detail work on the inside of the trim. It was literally one from a child's paint-by-number kit. It worked perfectly. Here's a pic of the brush with the glaze:


Rub on and off with a gauzy cloth:


So progress is being made. Tomorrow, the plan is to put on the polyurethane topcoat, then get to work on doing the same panel trim on the exposed ends of the lower perimeter cabinets.

Then I will do trim on the exposed ends of the upper cabinetry. I bought some moulding, and some more moulding, and even some more. Where does it end?! My moulding obsession is getting out of control.


This one seems to have promise as the trim for the upper cabinet end panels:


It's chair rail moulding from Lowe's.

Until later . . .


Monday, July 2, 2012

Joint Compound is my Second New Favorite Thing

Next to my new brad nailer, joint compound is my next new favorite thing. I used caulk to fill in some of the gaps, but the joint compound works well to spread over to level and smooth a surface. I needed to do this where I had cut a piece of base moulding in half on the back of the island, and it had a bunch of gaps and wasn't level. I love the texture of joint compound. It is thick and goopy. What is so wondrous is that after the joint compound dries, you can take a paper towel or wet cloth and smooth over the joint compound, and it magically smooths out. You can do this even after it's painted. So you can make some mistakes or have it look imperfect, and later go over it and fix it. It is very forgiving. Here is what joint compound looks like, and the two putty knives I used (I used the one on the right to get the joint compound out of the tub and load it onto the yellow one, since I mainly needed it to go in the middle of the yellow putty knife).


Here is my surface after doing one or two coats of this stuff:


Scary, right?! It's all bumpy and lumpy. Again, a wet towel will smooth it out.

Here's the caulk I used for gaps:


It's just a silicone caulk from Ace Hardware. It goes on white but dries clear. I just used this because that's what we had on hand, but you could really use any kind. It is paintable. Here's what it looks like with caulk in the crevices:


After smoothing out the moulding with joint compound, here's how it looked:


Much smoother, right?

Then, after all that was dry, it was time to paint. I used the same paint and glaze I did on the rest of the island, it's from Rustoleum Cabinet Transformations in the color Quilter's White. It is a cream color (looks white in the pic). I will glaze (hopefully tomorrow). Here it is after the paint:


Looks pretty spiffy. I am liking it.

See you tomorrow. I am tired and need to go to bed.